When I gave my wonderful tidbit to KarrieLynn a few weeks ago on her Freckled Whimsy's blog, I have had several people email me and ask that I give some visuals to help describe my method. Being a visual learner I should have thought about that before, but alas, I will sum it up to a blond moment, and I didn't have any. I had intended to take some pics for several weeks, since then the wonderful winter illnesses have hit my house, and all of us have been a bit under the weather. Finally, I am happy to say we are on the road to being healthy and I was able to capture some shots for all of you.
My grandmother taught me this technique years ago and I still use it today. By following these steps, you can reduce the amount that your blocks will stretch or distort when you need to draw diagonal lines or press bias seams.
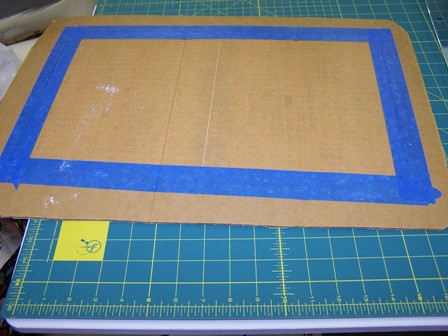
First, Find an old, but clean piece of cardboard. mine was originally a piece used inside a shirt when you wanted to pant on the shirt, and I cut it down for this purpose. Take two pieces of fine sandpaper and tape them down onto your board. This makes a great surface to transfer markings to fabric. The sandpaper holds the fabric without distorting it when you draw on it.
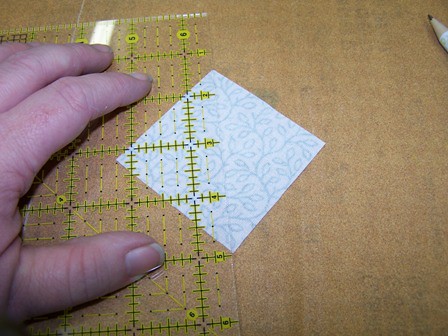
Lay your fabric on the sandpaper, and place your ruler on top.
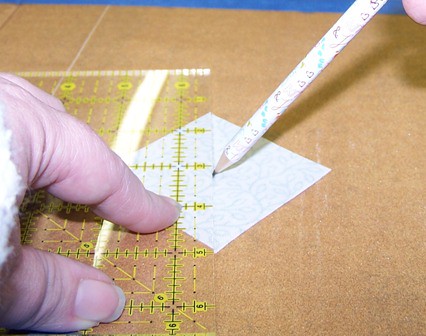
Take your pencil and starting from the center of the block, Draw outwards towards the corner. Lift your Pencil and start from the center again, and draw the second half of your line to the opposite corner.
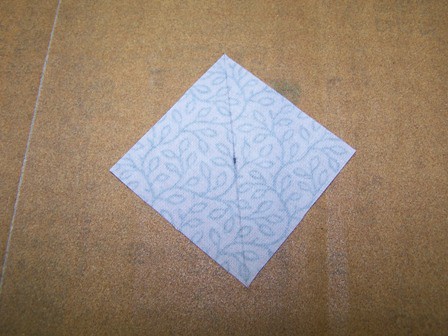
When you remove the ruler you have a perfect line corner to corner and your corners will not be distorted from the line being drawn. Notice that the line is darker in the center. I have a tendency to overlap my line when I start from the center and work outwards.
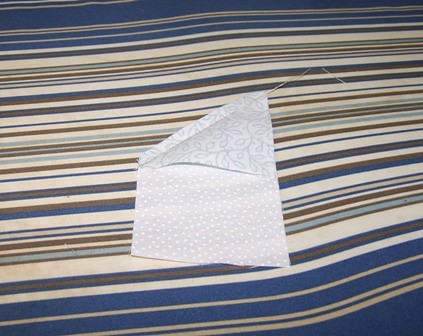
i use the same center principal when I am ironing a seam on the bias of my fabric (like in flying geese and HST).
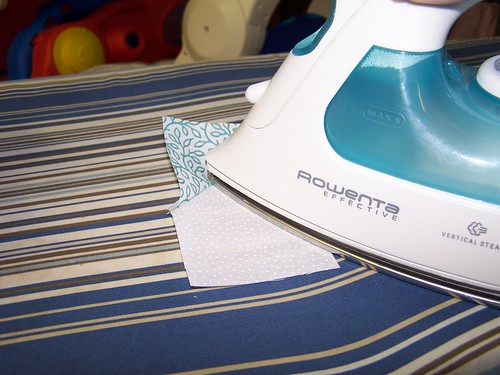
Use the corner of the iron to start pressing from the center.
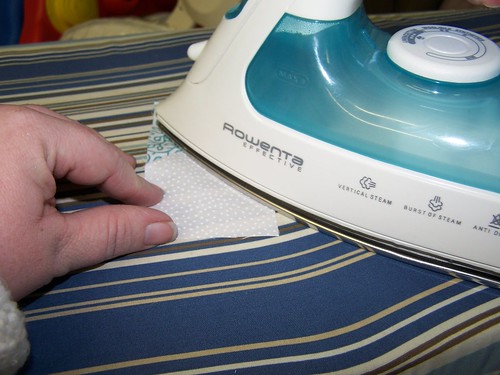
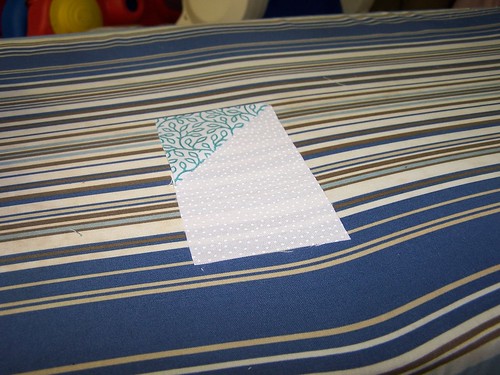
.Use the iron to work the seam outward from the center, on larger blocks, I will press from the center to one corner, and then again from the center to the opposite corner.
So does that make sense? I hope this helps you out. If you need more details let me know and I will gladly help. I hope that you all will have a beautiful weekend! We are enjoying some wonderful 70 degree weather!
No comments:
Post a Comment