Wednesday, February 23, 2011

Weekend Progress a little late!

Well I had hoped to post this blog earlier in the week, however, with an anniversary and finding out that both of my girls had pink eye (in both eyes) and my little one also had ear infections (did you know that babies get ear infections with pink eye?) this post will finally be completed on Wednesday...

I had a productive weekend, YAY!! Here is what I accomplished...
Month 1

My first month of Michael Miller's Clubhouse quilt by Swirly Girl Designs.

I also started on my blockapollooza quilt along blocks...
Blocks 1, 2, and 3

For this quilt along I am stash busting and using Charm by Amy Butler, and various Kona solids. It is real bright, and so far I am liking it, I am a bit behind, but I know I can catch up, the blocks go together fairly easy.

We will see, hopefully your home is "sick bug" free, and that you get some sewing done too :-) I hope to get some down the end of this week as well.

Saturday, February 19, 2011

My First Tutorial

When I gave my wonderful tidbit to KarrieLynn a few weeks ago on her 
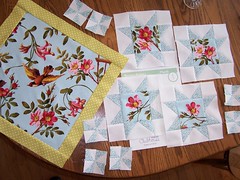
Freckled Whimsy's blog, I have had several people email me and ask that I give some visuals to help describe my method. Being a visual learner I should have thought about that before, but alas, I will sum it up to a blond moment, and I didn't have any. I had intended to take some pics for several weeks, since then the wonderful winter illnesses have hit my house, and all of us have been a bit under the weather. Finally, I am happy to say we are on the road to being healthy and I was able to capture some shots for all of you.

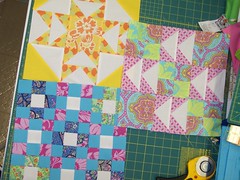
My grandmother taught me this technique years ago and I still use it today.  By following these steps, you can reduce the amount that your blocks will stretch or distort when you need to draw diagonal lines or press bias seams. 

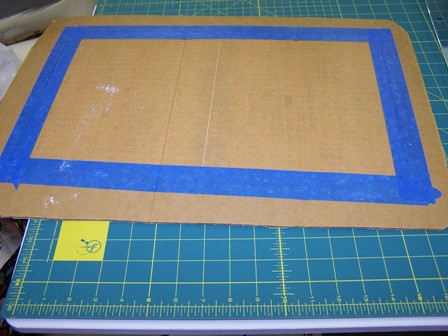
First, Find an old, but clean piece of cardboard. mine was originally a piece used inside a shirt when you wanted to pant on the shirt, and I cut it down for this purpose.  Take two pieces of fine sandpaper and tape them down onto your board.  This makes a great surface to transfer markings to fabric. The sandpaper holds the fabric without distorting it when you draw on it.  
Sandpaper board

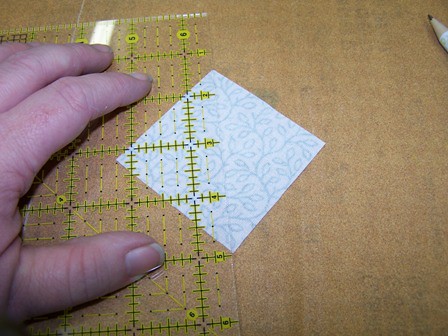
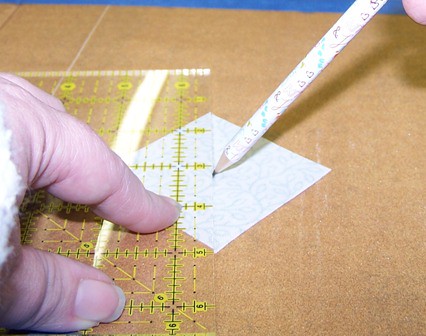
Lay your fabric on the sandpaper, and place your ruler on top.
Block on Sandpaper

Take your pencil and starting from the center of the block, Draw outwards towards the corner.  Lift your Pencil and start from the center again, and draw the second half of your line to the opposite corner. 
Start from the center

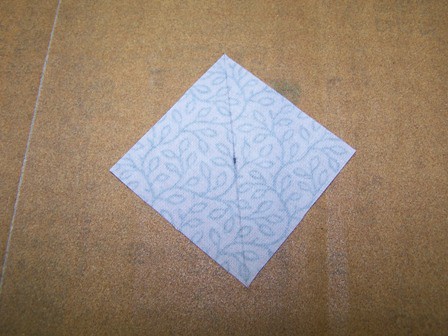
When you remove the ruler you have a perfect line corner to corner and your corners will not be distorted from the line being drawn. Notice that the line is darker in the center. I have a tendency to overlap my line when I start from the center and work outwards.

diagonal lines


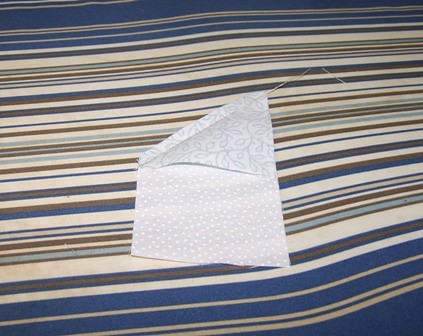
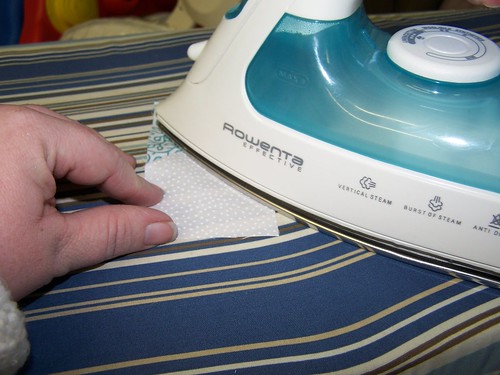
i use the same center principal when I am ironing a seam on the bias of my fabric (like in flying geese and HST).
Ironing


Use the corner of the iron to start pressing from the center.
Start from the center again

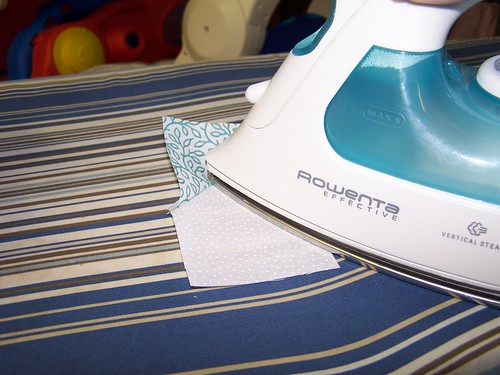
.Use the iron to work the seam outward from the center, on larger blocks, I will press from the center to one corner, and then again from the center to the opposite corner. 

Working outward

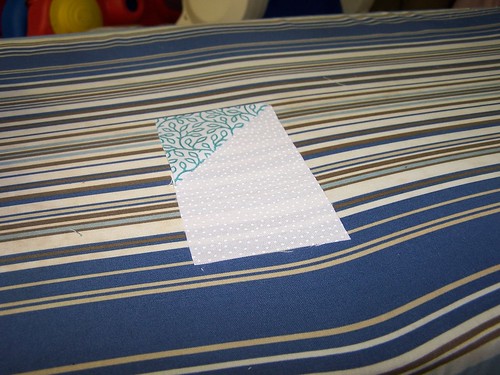
Pressing from the center helps to keep the block square, and causes very little stretching on the bias seem. You just gotta love that! :-)

Finished Peice


So does that make sense? I hope this helps you out. If you need more details let me know and I will gladly help. I hope that you all will have a beautiful weekend! We are enjoying some wonderful 70 degree weather!

Friday, February 4, 2011

A Quilt in Less than a Month

I joined Rachel's postage stamp quilt along at PSIQuilt back in January. I could not believe we would be making a small bed size quilt in a month however, I finished up very early this morning...I won't tell you just how early, but I am definitely working on very little sleep today! But here she is...
Postage Stamp Quilt Top

Isn't she pretty?!?

And a look close up too...

Postage Stamp Quilt Close Up

I decided to use Farmer's Market by Sandi Henderson for Michael Miller Fabrics for this quilt. I love all the bright cheery colors against the white. I know I love the brights, but they just make me smile. I had originally bought most of these fabrics in a kit. I loved the quilt, but changed my mind and picked another color scheme for that quilt. 
I decided for this quilt along (and pretty much all quilt alongs I join this year) to bust open my fabric stash and between the kit I had purchased and my stash, I had 24 of the fabrics from the line...not too bad. I did have to cut them into 2.5" strips, but I used a tool called the Shape Cut by June Taylor, and I have to say it is my new favorite friend. Much cheaper than buying Jelly rolls of solid colors. And from there the piecing went fairly easy.  
The best part of this quilt is that I finished the top in less than a month :-) I used 6 yards of fabric from my stash, and my darling 3 year old helped me with this quilt. She decided it was fun to layout the fabrics and help mommy iron the blocks, as well as layout my blocks in their rows. So although there maybe the same fabrics side by side, but that is what she wanted, and I loved her helping me quilt! :-)

Well I hope that you all have a blessed weekend, sorry for the long post.. I had a lot to say! :-)